
- 3/8" Ratchet/Breaker bar- Do I need to explain this?
- 10mm 12 point socket- to remove the nuts from the back side of the wheel.
- 10" socket extension- to be able to reach all the way in to the wheel
- Nail punch- this is to tap out all the bolts after removing the nuts. I used an old Torx screwdriver that I found lying around the apartment for the last wheel it was tons better because it had a rubber handle and would center itself on the bolt.
- Old phone book- Place this on the top of the center to protect the finish.
- A dead blow hammer- I used a regular hammer, because my rubber mallet just wasn't doing the trick.
I started out by soaking the inside of the wheel with WD40. I thought this would penetrate between the center and wheel to help me when I wanted to separate the two. Now, after they have soaked a little bit, you can start by removing all the nuts from the back of the wheel. This takes some patience, there are 34 bolts per wheel. I worried that I would break a bolt as some of the nuts were very stubborn and necessitated using the "persuader"--or 26" breaker bar. I collected them in a magnetic dish to keep them all in one place.
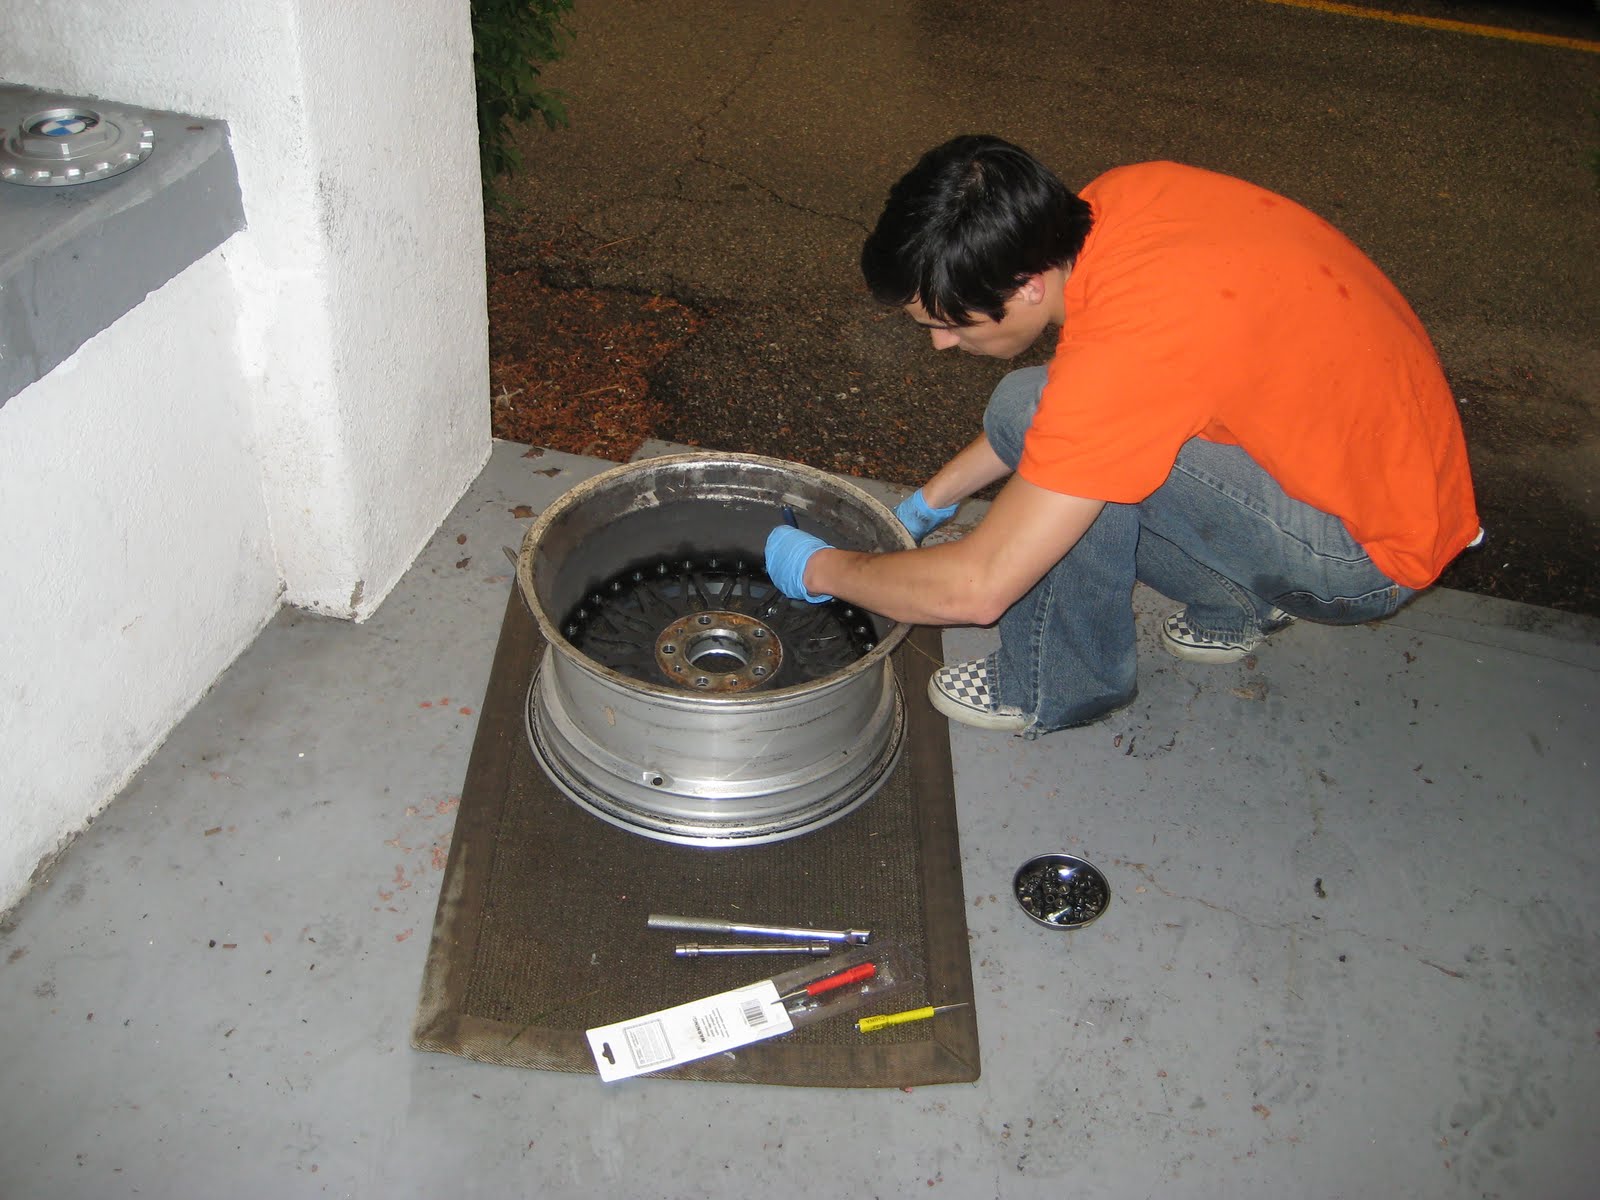
Now that you have all the nuts off, you can remove the bolts. You do this by placing a nail punch (blue was the best size for the job), or old Torx screwdriver on the end of the bolt. I thought it was nice that the bolts had an indentation on the center. This kept the punch from moving around or sliding off as I struck it with the hammer. Don't be bashful. These bolts are much like the nuts that you removed, they take a little more effort at times.


This is where the phone book comes in handy. Since Rachel and I look online to find contact information now the phone book has been gathering dust on the refrigerator. Once all the bolts and nuts are removed from the wheel place the wheel on a padded surface, like the rug I was using, facing upwards. Position the phone book on the center of the wheel. Now you can give the center a good smack to separate the two without damaging your centers. I tried and tried with a rubber mallet with no success. I have also read different accounts of people using presses, sledgehammers, and heat guns. All of this sounds a little over-kill, but they weren't the easiest things to remove.
Now get ready to roll up your sleeves. My wheels were caked in over 4mm of brake dust. It was over everything. The centers, nuts, bolts, and the inner portion of the wheels. After a lot of scrubbing I was able to clean them up a bit.


They look pretty good now. But the plans are to polish the lips, replace the bolts and get rid of the curb rash.


3 comments:
What did you use to clean them? I have a set I am working on - the lip is the easy part, but removing all that built-up brake dust is a pain. Is that a Brillo pad?
Polishing the lips, I have found, is the easy part compared to trying to remove the brake dust! What did you use, exactly?
At first I used some P21 and let it soak for awhile. But, that build up was so thick it barely dented it. I then used a ScotchBrite pad to get the bigger collections of brake dust off and then followed it up with P21. When I do another set I think I will use Oil Eater, you can get it at Costco. The stuff is amazing.
Post a Comment